
1. Intro
In this post we will look at how you can implement a blur effect in Qt6. But first of all: why would you use a blur effect in the first place?
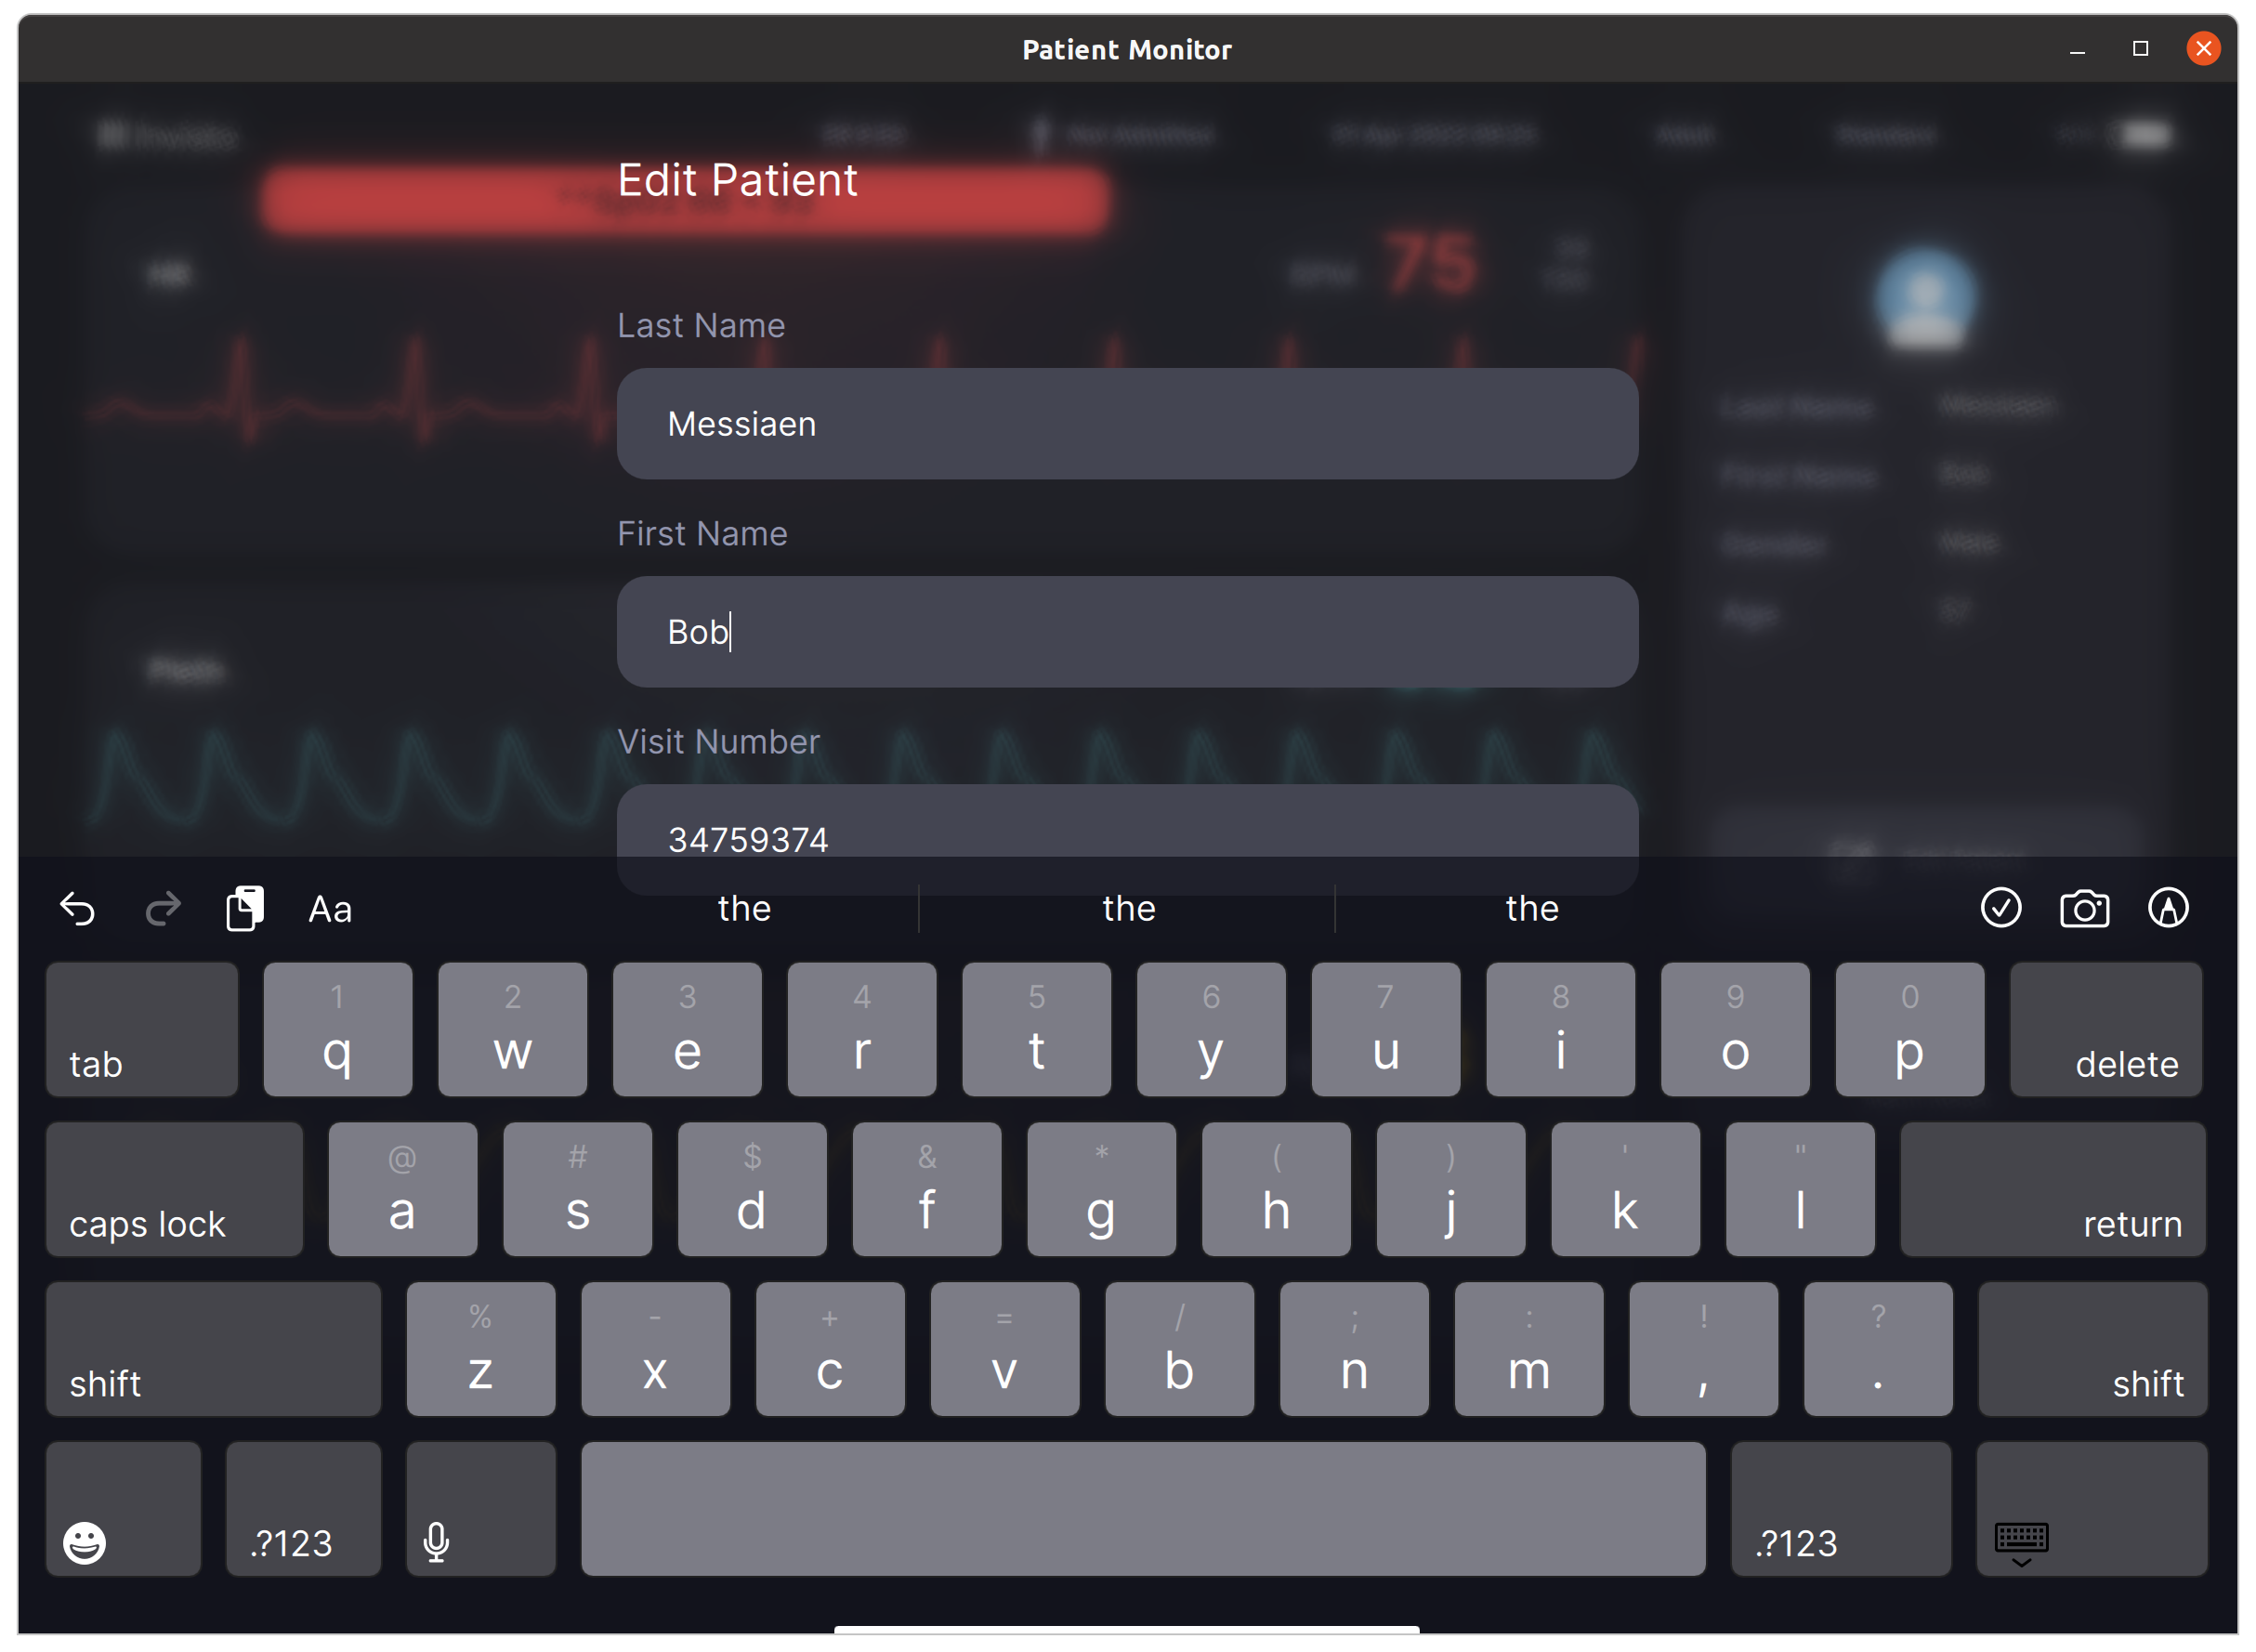
A common use case is to use a blur effect on the background of a modal window or pop-up dialog to draw attention to the content in the foreground. This helps the user focus on the task at hand and avoid distractions from the surrounding content. The example below illustrates this concept.
2. What was the approach in Qt5?
In Qt5, the FastBlur QML type was available for this purpose, which was part of the QtGraphicalEffects module. However, in Qt6, the QtGraphicalEffects module has been deprecated.
3. And in Qt6?
There are several approaches to implementing a blur effect in Qt6:
- Qt Graphical Effects are still available in the Qt 5 compatibility module.
- Using the new (Qt6.5) Qt Quick Effects QML Types.
- Using a ShaderEffect directly.
We have created a small example of all three implementations. You can find the source code for these examples on our GitHub page:
https://github.com/Invisto-your-interface-partner/Qt6-Graphical-Effects
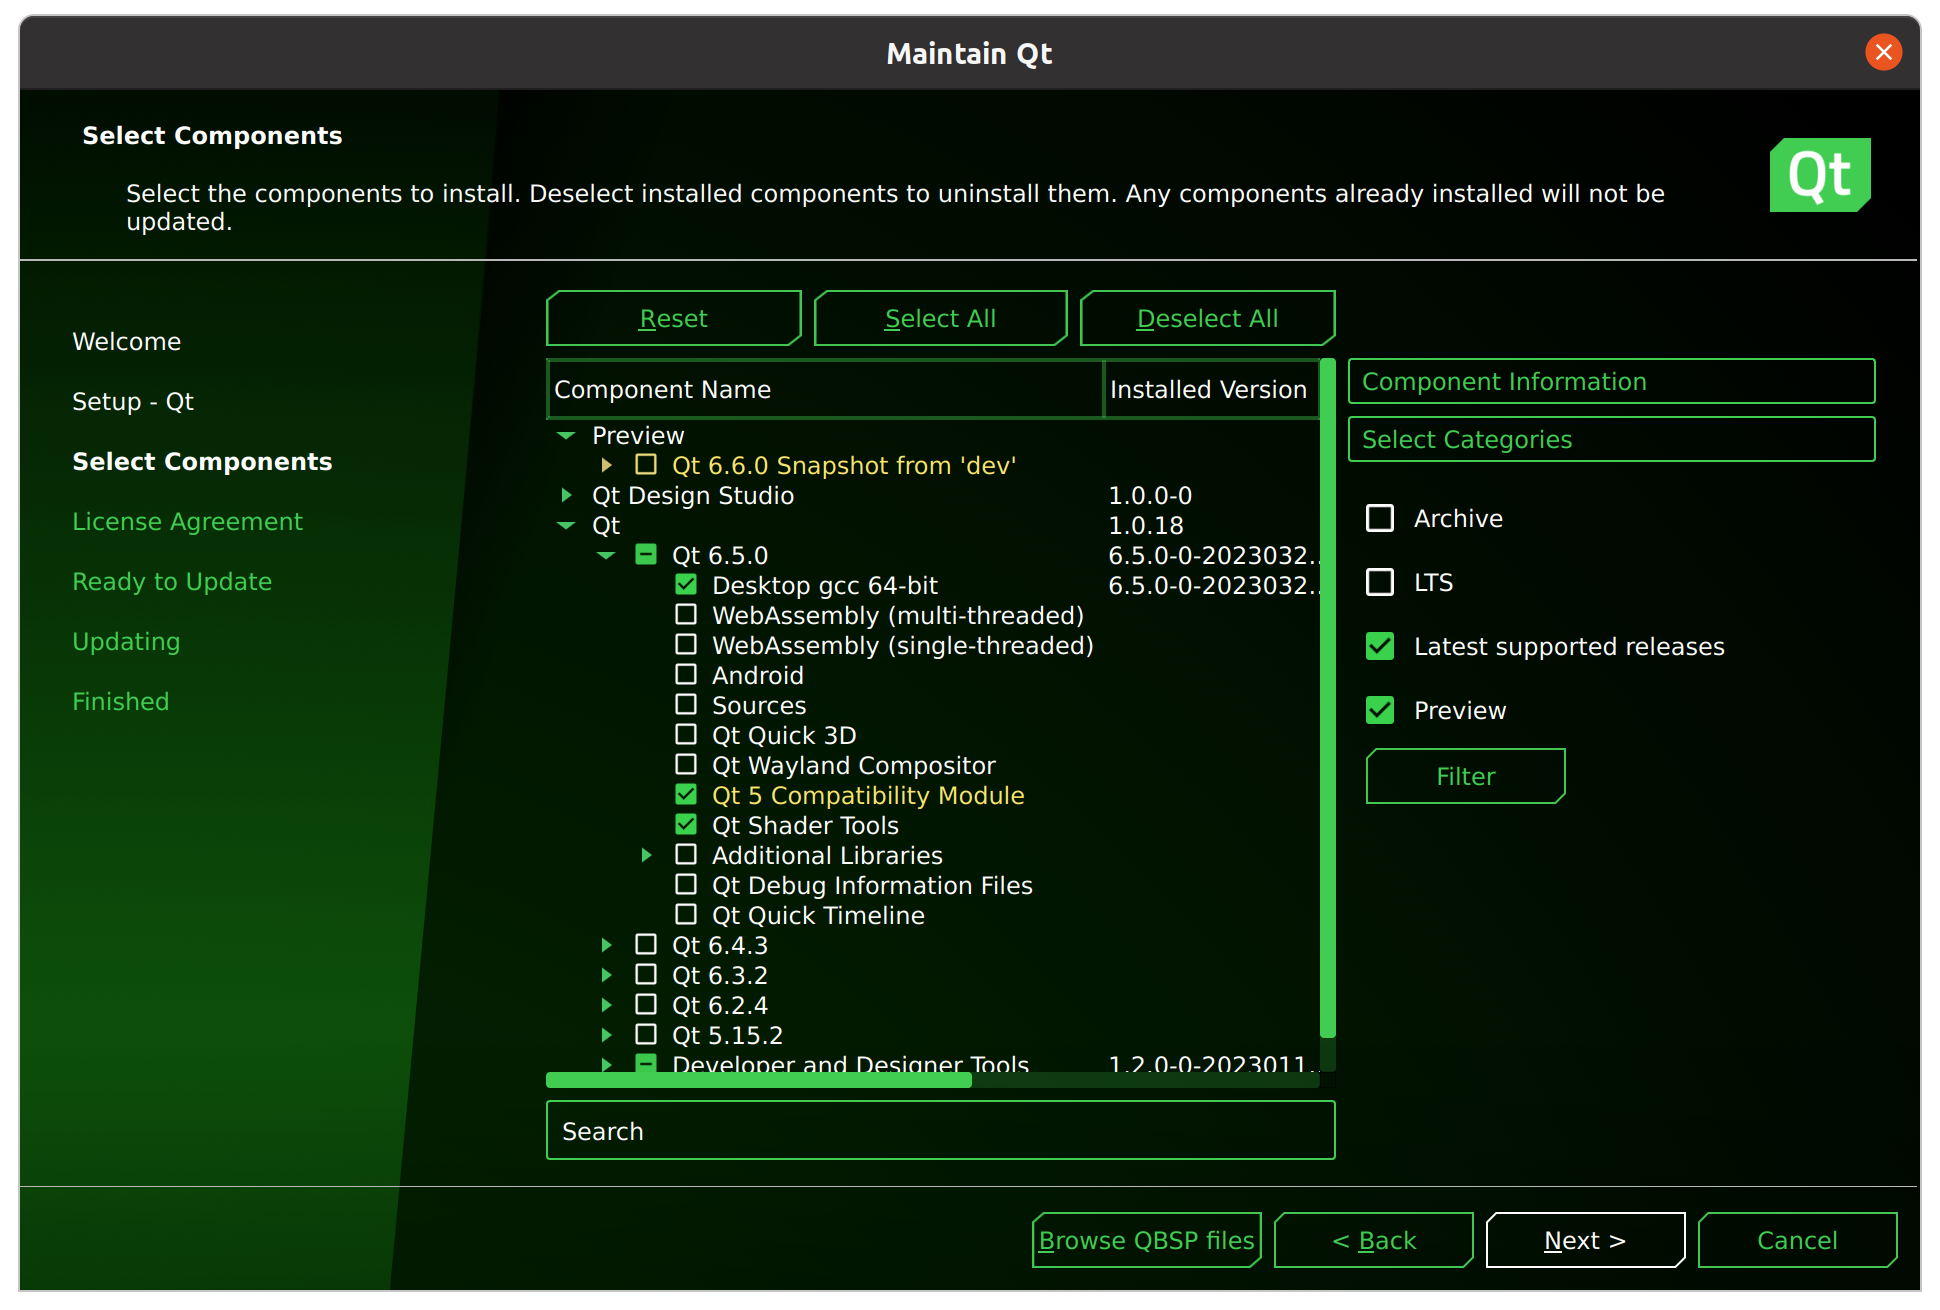
If you intend to run these examples, it is essential to verify that you have installed the compatibility and shader tools modules.
3.1 Using the Qt5 compatibility module.
First thing to mention is that Qt itself doesn't recommend this solution. I tend to agree with them. This approach should only be considered if you are not yet prepared to transition to Qt 6.5 and require a practical solution.
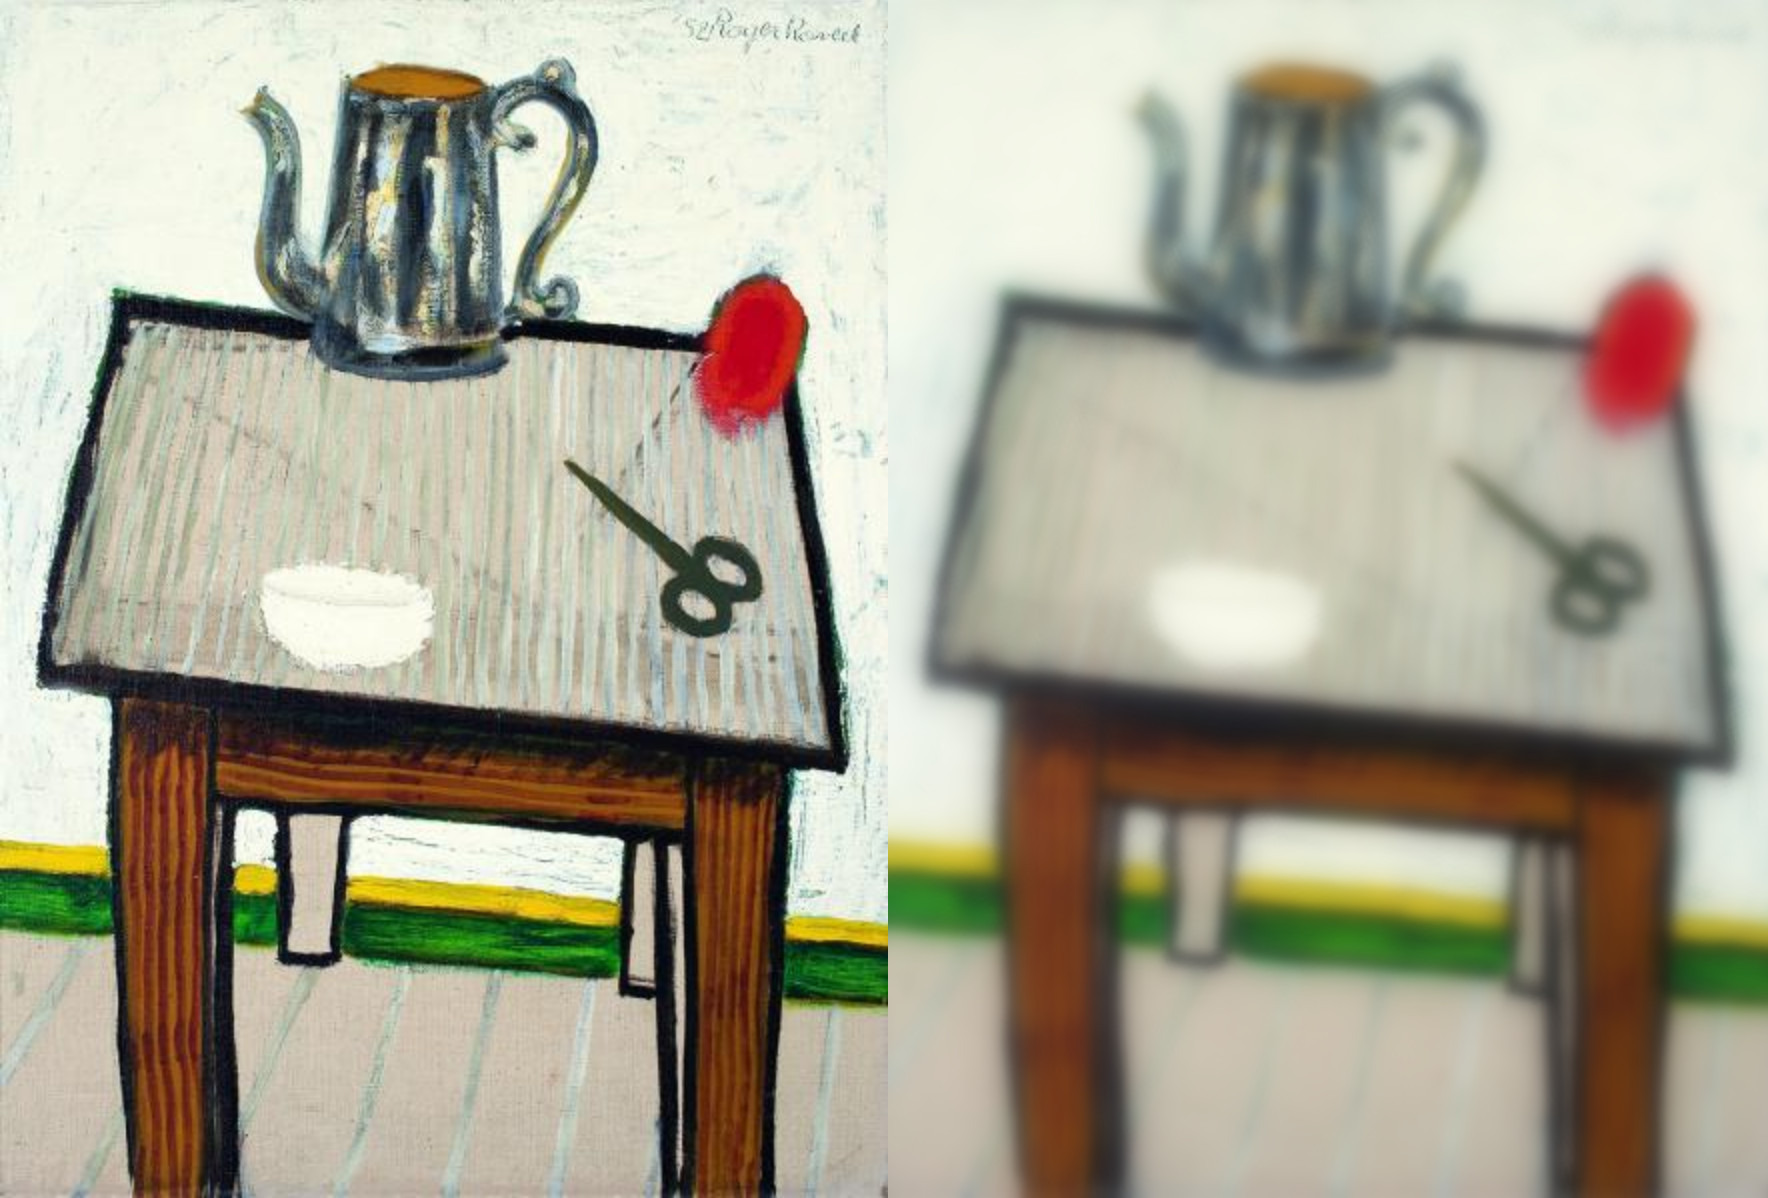
The result produced by our application is:
3.2 Using the Qt6 ShaderEffect
Another approach is to utilize a ShaderEffect, which provides extensive flexibility for implementing various effects, as you can create custom shaders to achieve your desired effect. However, for simply adding a blur effect, this method may be a bit excessive.
And the shader:
3.3 Using the Qt6 MultiEffect
If you are using Qt 6.5, this is the recommended choice for implementing effects. It offers a straightforward and modern approach, allowing you to easily achieve the desired result without the need to write your own shader.
4. Conclusion
In case you have access to Qt6.5, the recommended approach is to use the MultiEffect, as it aligns with the new coding conventions and is straightforward to implement. However, if you are not in a position to upgrade to Qt6.5, the compatibility mode would be the optimal solution (still, it would be wise to add a task to your backlog to remove it in the future). The shader approach is appropriate only for unique effects that cannot be achieved using the MultiEffect. Nevertheless, such instances are relatively rare in practice.


