
QML modules in Qt 6, and how to structure them properly
In a Qt 5 project, a QML module was mostly manual work. You wrote your own qmldir, maintained a .qrc, registered C++ types with qmlRegisterType and hoped the import paths on the device were correct. Since Qt 6.2, qt_add_qml_module does most of that for you. That saves boilerplate, but the biggest advantage is that the entire Qt tooling understands your code: the compiler, qmllint, the language server and Qt Creator know which types exist and where they come from.
Below we walk through two small example projects we put on GitHub: an application as a module and a library with a C++ type. They are deliberately small, so you can see what CMake generates and what you still have to take care of yourself.
What a QML module actually is
A QML module is a collection of types under a single name, the URI. Those types can be QML files, C++ classes or a mix of both. Whoever imports the module gets all of them at once:
import QtQuickimport be.invisto.controlsWindow { width: 640 height: 480 visible: true IvProgressBar { value: 50 }}A version number in the import is optional in Qt 6. If you leave it out, you get the newest version of the module that is found. In practice we usually leave it out and pin the version in the build system.
Behind such an import there is always a qmldir file that lists the types, and for C++ types also a .qmltypes file with their properties, signals and methods. That second file is what tooling needs to check your code. It used to be missing a lot of the time, and then code completion in Qt Creator stayed empty or qmllint warned about every custom component.
An application as a module
You can define your application itself as a module too. That is the first demo project. It shows the Invisto logo in the middle of a window:
cmake_minimum_required(VERSION 3.16)project(QMLModuleApplicationDemo VERSION 1.0 LANGUAGES CXX)set(CMAKE_AUTOMOC ON)set(CMAKE_CXX_STANDARD 17)set(CMAKE_CXX_STANDARD_REQUIRED ON)find_package(Qt6 6.2 COMPONENTS Quick Gui REQUIRED)qt_add_executable(demo_app main.cpp)qt_add_qml_module(demo_app URI hello VERSION 1.0 QML_FILES main.qml Logo.qml RESOURCES images/Invisto-Logo.svg)target_link_libraries(demo_app PRIVATE Qt6::Gui Qt6::Quick)Because demo_app is already an executable, qt_add_qml_module does not create a separate library. It attaches the QML files and the SVG to the program as resources, generates the qmldir and makes sure the files go through qmlcachegen during the build. You no longer need to maintain a .qrc.
Logo.qml refers to the image with a relative path:
import QtQuickImage { source: Qt.resolvedUrl("images/Invisto-Logo.svg")}That works because the SVG is in the same module, under the same resource path as the QML files. That is why well-structured projects have no hardcoded qrc:/ paths anywhere in the QML itself.
There is still one in main.cpp:
#include <QGuiApplication>#include <QQmlApplicationEngine>int main(int argc, char *argv[]){ QGuiApplication app(argc, argv); QQmlApplicationEngine engine; const QUrl url(u"qrc:/hello/main.qml"_qs); engine.load(url); return app.exec();}The path qrc:/hello/ follows from the URI hello. Up to and including Qt 6.4, qt_add_qml_module places the files under qrc:/<URI>/. From Qt 6.5 the default changes to qrc:/qt/qml/<URI>/, through the CMake policy QTP0001. That path is also in the engine’s default import paths, so modules in resources are found without you having to call addImportPath yourself.
If you are on Qt 6.5 or newer, this is how we write it today:
find_package(Qt6 6.5 REQUIRED COMPONENTS Quick)qt_standard_project_setup(REQUIRES 6.5)QQmlApplicationEngine engine;engine.loadFromModule("hello", "Main");qt_standard_project_setup turns on AUTOMOC and the new policies, among other things. With loadFromModule you load the type Main from the module hello, without needing to know where the file sits in the resources. The file is then called Main.qml, with a capital letter, because the file name becomes the type name. And the _qs literal from the example has been replaced since Qt 6.4 by _s, from Qt::StringLiterals.
A C++ type in its own module
The second demo project puts a C++ class in a separate module. The class gets the QML_ELEMENT macro:
#pragma once#include <QObject>#include <QtQml/qqmlregistration.h>class CustomElement : public QObject{ Q_OBJECT QML_ELEMENT Q_PROPERTY(int counter READ counter WRITE setCounter NOTIFY counterChanged)public: CustomElement(); int counter() const; void setCounter(int value);signals: void counterChanged();private: int m_counter;};Pay attention to the include. QtQml/qqmlregistration.h only contains the registration macros. If you include <QtQml>, you pull in the entire module, and you will notice that in the compile time of a large project.
The module itself is a few lines of CMake:
qt6_add_qml_module(demolib URI qmllibs.demolib VERSION 1.0 SOURCES custom_element.h custom_element.cpp)Because demolib does not exist yet, the command creates a library itself here, along with a plugin target demolibplugin. During the build, qmltyperegistrar runs over the headers. It finds QML_ELEMENT, writes the registration code, and generates the qmldir and demolib.qmltypes. The qmlRegisterType work from Qt 5 disappears completely.
In QML you then use the type like any other element:
import QtQuickimport qmllibs.demolibWindow { width: 640 height: 480 visible: true CustomElement { counter: 10 }}How Qt finds your module
If you look at the main project of the library demo, something stands out: the application never links demolib.
add_subdirectory(qmllibs/demolib)qt_add_executable(app main.cpp)qt_add_qml_module(app URI hello VERSION 1.0 QML_FILES main.qml)target_link_libraries(app PRIVATE Qt6::Gui Qt6::Quick)Still, import qmllibs.demolib works. That is down to the folder structure. The module lives in qmllibs/demolib, which is exactly the URI qmllibs.demolib with slashes instead of dots. CMake builds the module in the same folder under the build directory, together with the qmldir and the plugin. By default the QML engine also looks in the program’s own folder, finds qmllibs/demolib/qmldir there and loads the plugin the first time the import is used.
That is convenient to get started, but it also explains one of the most frequently asked questions: why a module is found on the development machine and not on the device. If the folder differs from the URI, or the module ends up somewhere else after installation, the engine can no longer find it. So always keep the folder identical to the URI, and check where the qmldir ends up when you deploy.
If you build statically, which is common on embedded targets, nothing is loaded at runtime anymore. You then link the plugin explicitly and import it in C++:
target_link_libraries(app PRIVATE demolibplugin)#include <QtQml/qqmlextensionplugin.h>Q_IMPORT_QML_PLUGIN(qmllibs_demolibPlugin)The name of the plugin class follows from the URI: the dots become underscores, with Plugin appended. In projects that are built both shared and static, we therefore always link the module explicitly. That way it works in both cases, and CMake can also see the dependency between the targets.
What you get for free
A correctly structured module gives you more than just fewer files.
- qmlcachegen compiles your QML to bytecode during the build, and to C++ where possible. The application starts faster and you catch errors earlier.
- qmllint gets its own target per module,
<name>_qmllint, plusall_qmllintfor the whole project. It does not run automatically on every build, so add it to your CI pipeline. With the generated.qmltypesit also checks your own C++ types. - qmlls and Qt Creator use the same information for code completion, navigation and warnings in the editor.
- Type safety between QML and C++. If you rename a property in C++ and forget the QML, the tooling tells you, instead of you finding out on the device.
Tips from our projects
A few things we apply again and again in HMI projects.
One module per responsibility. One module for your own controls, one for style and theme, one for the C++ backend, and the application itself. That way another product can reuse the controls without dragging along the rest, and the dependencies stay visible in CMake.
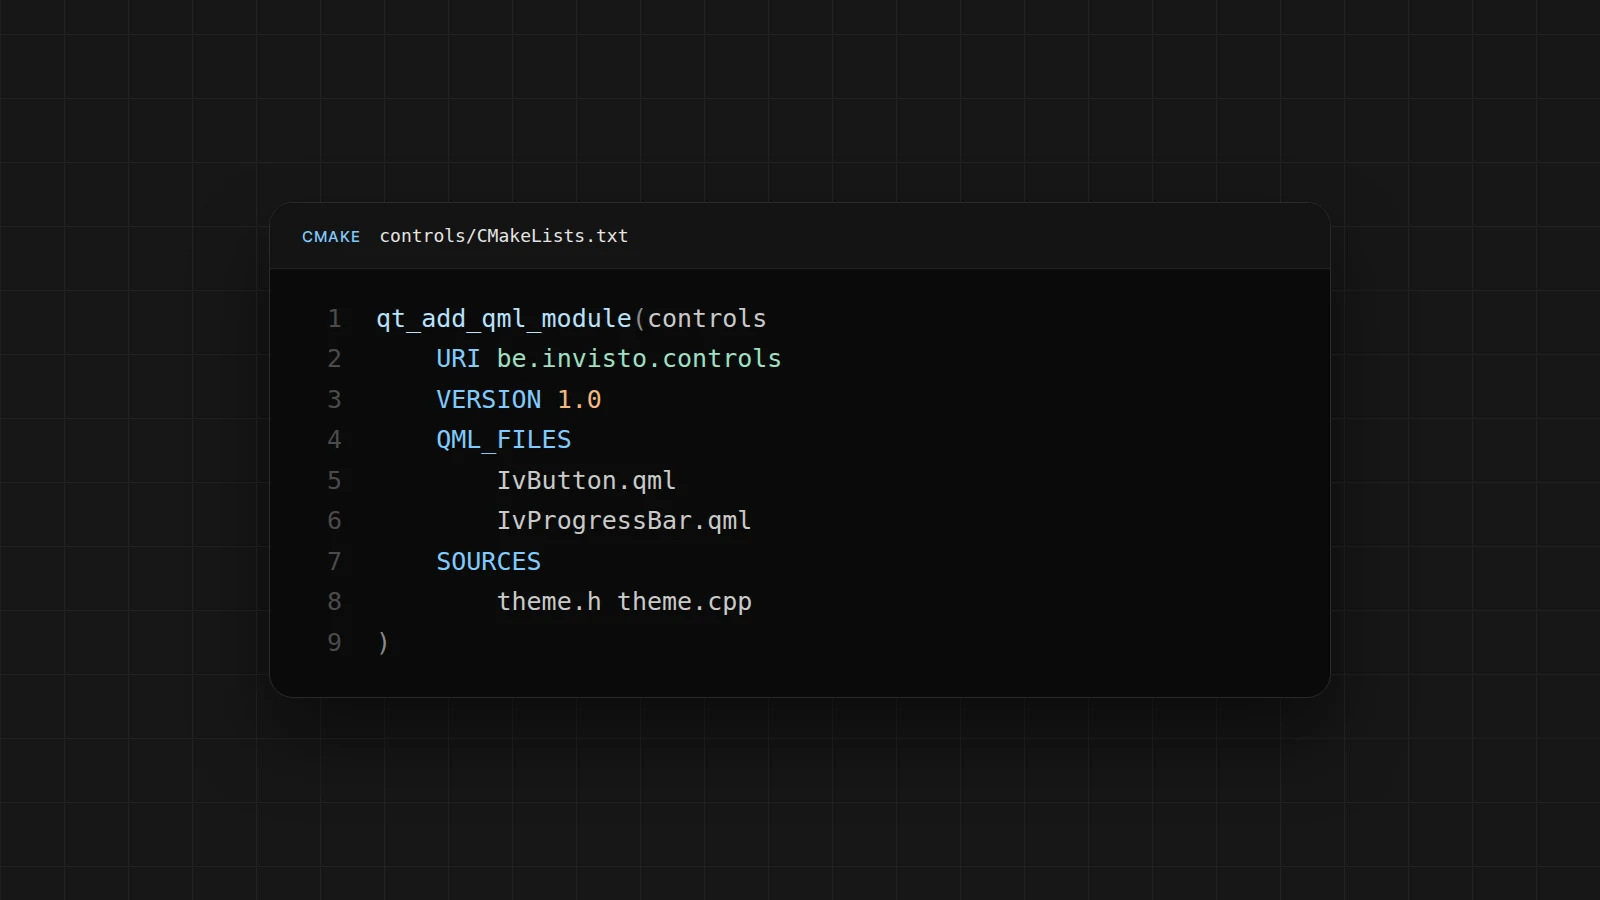
A URI that is yours. Use a reverse domain name, such as be.invisto.controls. A generic name like controls will sooner or later clash with another module on the import path.
Singletons through CMake. You make a theme or a central configuration a singleton by putting pragma Singleton at the top of the QML file and marking the file:
set_source_files_properties(Theme.qml PROPERTIES QT_QML_SINGLETON_TYPE TRUE)Put that line before qt_add_qml_module, otherwise the file is registered as a regular type.
Declare your dependencies. If your module itself imports other modules, list them with IMPORTS or DEPENDENCIES. That helps qmllint and qmlcachegen, and prevents vague errors in a static build.
Migrating from Qt 5. Start with the C++ types. Replace qmlRegisterType with QML_ELEMENT or QML_NAMED_ELEMENT, and only remove the handwritten qmldir and .qrc once the module is built through CMake. That way you can switch over step by step, with a working build in between.
The example code
Both projects are on GitHub. They were written for Qt 6.2 and also work on newer versions, with the differences described above.
- Application-QML-Module-Demo: an application as a QML module, with QML files and an image as a resource.
- Library-QML-Module-Demo: a separate module with a C++ type that becomes available in QML through
QML_ELEMENT.
You can read more about the command in the qt_add_qml_module documentation.